

That sinking feeling when you spot a dark stain spreading on your ceiling is unmistakable. The question "leaking roof what to do?" hits you fast. The most important thing is to act quickly—your moves in the first 30 minutes are crucial for damage control. Focus on three things: containing the water, eliminating any safety hazards, and documenting the mess for your insurance claim.
Your First Moves When You Spot a Roof Leak
The moment you see a drip, a stain, or a sagging bulge in the ceiling, it's easy to feel overwhelmed. Don't panic. The key is to work through a few simple, methodical steps to manage the problem inside your home. This isn't about getting on the roof yourself; it's about controlling the situation to minimize damage before the professionals from a company like Hi Low Roofing arrive.
Even with a global roofing market expected to reach about $132.5 billion USD in 2025, leaks are an all-too-common headache for homeowners. This is especially true here in Central Florida, from Pinellas County to Orlando, where our weather can be relentless. You can find more details on roofing market trends and statistics here.
This infographic gives you a quick visual on the absolute first priority: stopping the water from causing more harm to your home's interior.
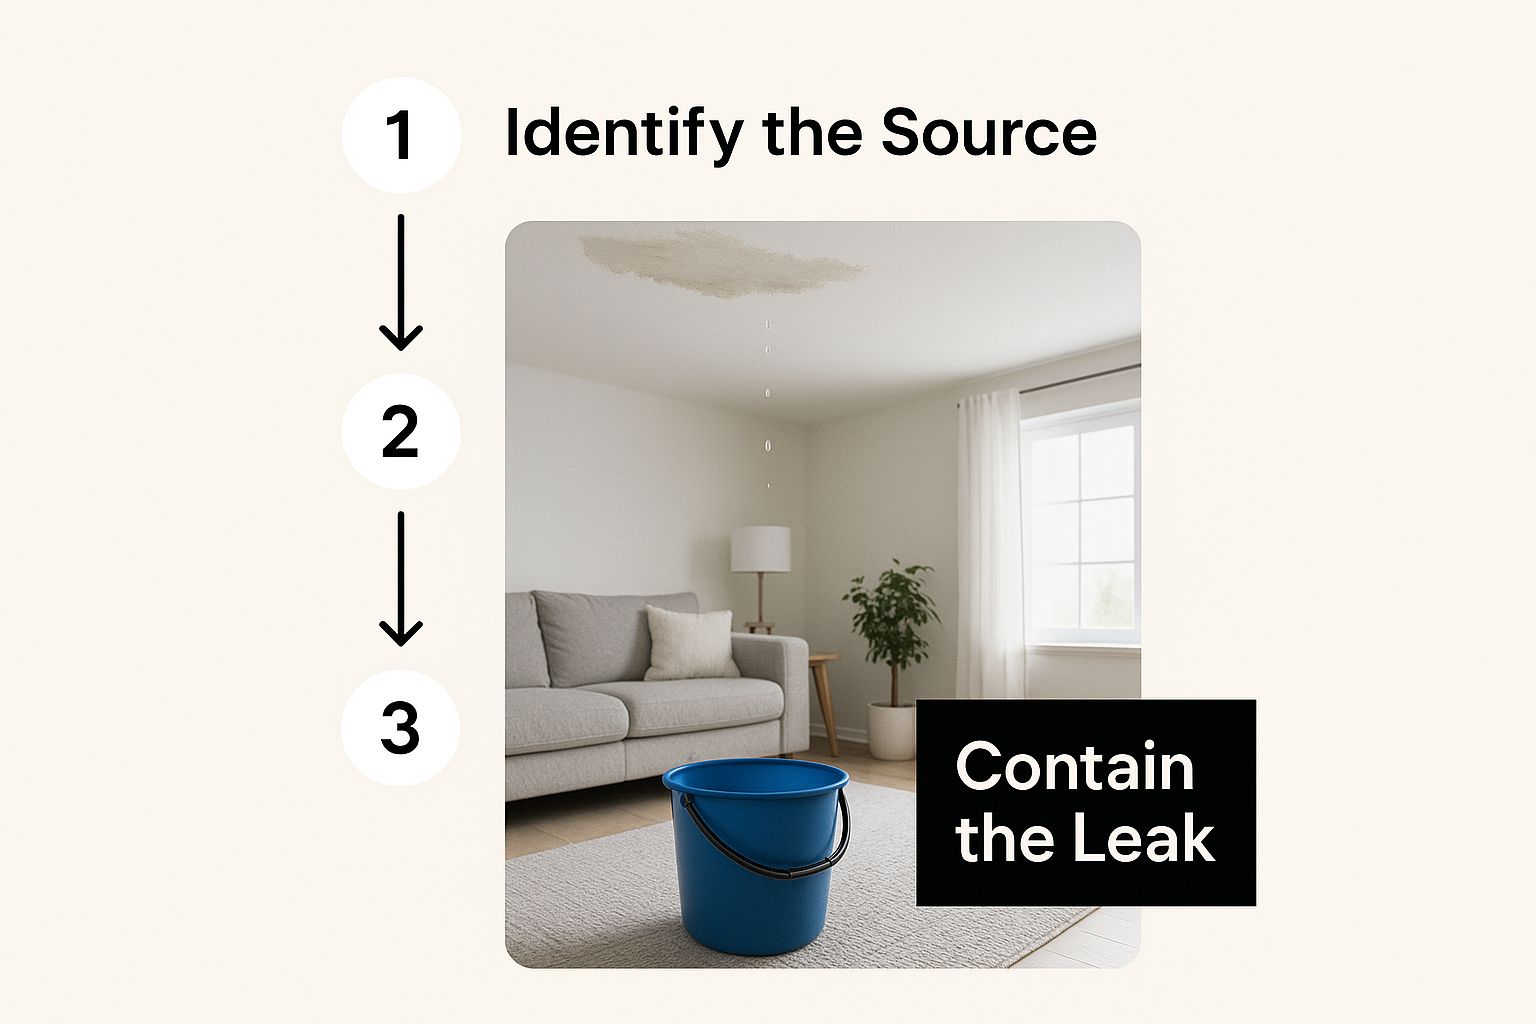
As you can see, something as simple as a bucket can be your best friend, immediately protecting your floors, furniture, and sanity from the relentless drip.
Manage the Damage and Ensure Safety
Your first job is to get that water contained. Grab whatever you can—buckets, pots, pans, even a plastic trash can—and place it directly under the leak. If you’re dealing with a faster drip or a ceiling that’s starting to bulge ominously, lay down some old towels or a plastic tarp to catch the inevitable splashes.
Pro Tip: If you see a significant bulge in the drywall, it's holding a lot of water. You can carefully poke a small hole in the very center of the bulge with a screwdriver. This will release the water in a controlled stream into your bucket, preventing the ceiling from collapsing and causing a much bigger mess.
Next, think safety. Water and electricity are a lethal combination. If the leak is anywhere near light fixtures, outlets, or your entertainment center, you need to act.
- Head to your circuit breaker and shut off the power to that part of the house.
- Carefully unplug any electronics and move them somewhere high and dry.
- Never, ever touch electrical switches or appliances if you're standing in or near water.
Finally, start moving things out of the way. Get furniture, rugs, electronics, and any personal items with sentimental value clear of the affected area. Even a seemingly minor drip can completely saturate and ruin your belongings if left unchecked.
To help you stay focused during a stressful moment, here's a quick checklist of your immediate priorities.
Emergency Leak Response Checklist
| Action Item | Why It's Important |
|---|---|
| Place Buckets/Containers | Immediately protects floors, subfloors, and belongings from direct water damage. |
| Move Valuables | Prevents furniture, electronics, and sentimental items from being ruined by saturation. |
| Puncture Ceiling Bulge (If Safe) | Releases trapped water in a controlled way, preventing a messy drywall collapse. |
| Shut Off Electricity | Eliminates the severe risk of electrical shock or fire from water mixing with wiring. |
| Document with Photos/Videos | Provides crucial evidence for your homeowner's insurance claim process. |
Running through these steps will put you in the best possible position to handle the situation calmly and effectively while you wait for professional help to arrive.
Finding Where the Leak Is Coming From Inside
So you've got the immediate mess under control. Now it's time to play detective. The tricky thing about roof leaks is that the drip in your living room almost never lines up with the actual hole in the roof. Water is a master of disguise; it can run along rafters and seep down wall frames before it finally makes an appearance.
Your job is to trace it back to the source, and that usually means a trip into the attic. Think of this as gathering intel for the roofer you'll call later. Giving them a solid starting point saves time and, ultimately, money—something we all appreciate, especially with the wild weather we get here in Central Florida.
How to Safely Check Your Attic
First things first: safety. Grab a good, bright flashlight and your phone to snap pictures. When you get into the attic, remember the golden rule: never walk on the attic floor. That's not a floor; it's just the drywall ceiling of the room below. Step only on the wooden joists or any plywood walkways. A misstep here is a fast track to a much bigger, more expensive problem.
Once you're situated, try a classic trick. Turn off your flashlight and just look up. See any tiny beams of daylight poking through? That's a tell-tale sign of a hole, often where a roofing nail has backed out.
Now, turn that flashlight back on and start scanning the underside of the roof sheathing. You're looking for a few key clues:
- Dark Water Stains: These often appear as long, dark streaks on the wood.
- Wet or Clumped Insulation: Saturated insulation is a dead giveaway that water has been lingering there.
- Signs of Mold or Mildew: Keep an eye out for any black or discolored spots, especially around roof penetrations.
Here's a pro tip: When you find a water stain, always follow it uphill. Water runs down, so the entry point is almost always higher up the roof slope than where you see the most obvious damage.
Concentrate your search around anything that goes through the roof. These are the usual suspects. Pay extra close attention to the framing around plumbing vents, chimneys, exhaust fans, and skylights. When you find the likely spot, take a few clear photos. This simple step will make your roofer's job much easier when they arrive.
Deciding Between a DIY Patch and a Professional Repair
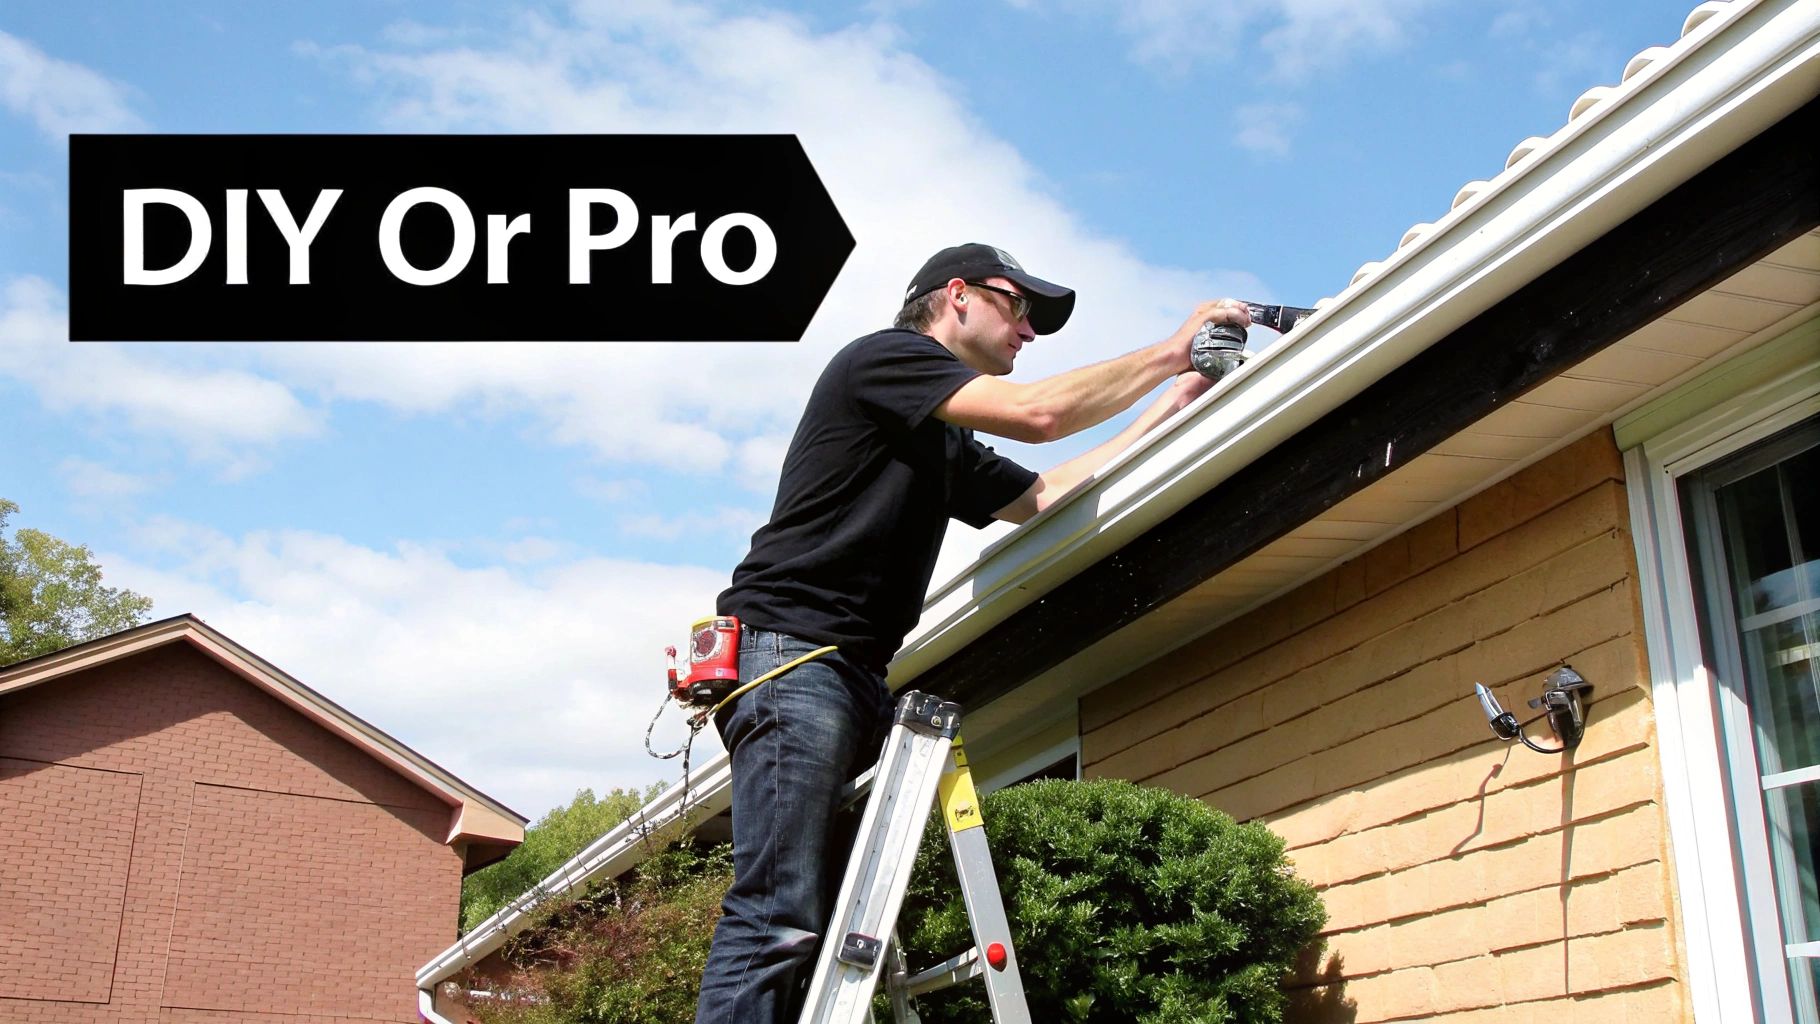
When you see a water stain on your ceiling, the immediate urge to grab a ladder and a bucket of roofing cement is completely understandable. A quick, hands-on fix feels proactive, but it’s crucial to know where the line is between a smart temporary patch and a proper professional repair. The truth is, a rushed DIY job can easily turn a small problem into a much bigger, more expensive one.
Think of it this way: throwing a tarp over a small, contained leak can be a great move, especially if you're just trying to get through a classic Central Florida thunderstorm. But even that needs to be done right. If that tarp isn't secured properly, it can trap moisture underneath, which speeds up rot. Or, a strong gust of wind could rip it right off, taking more of your shingles with it. A temporary fix is about buying yourself time, not solving the underlying issue.
Knowing When to Call a Professional
A DIY patch might feel like you're saving money, but the hidden risks can be costly. The biggest one? Your roof's warranty. Many manufacturers will void their warranty coverage if they find evidence of unauthorized repairs, which could leave you on the hook for major problems down the road. You also risk using the wrong materials or techniques, which can compromise your roof's integrity and turn a tiny leak into a major structural weak spot.
It seems most homeowners get this. In the U.S., about 79% of homeowners choose to hire professional contractors for their roof repairs, while just over 14% brave the DIY route. That gap really speaks to the technical skill and safety knowledge needed to do the job right. You can find more current roofing facts and statistics on ThisOldHouse.com.
So, when is calling in a pro from the Orlando, Pinellas, or Tampa area an absolute must? Here are a few situations where you should pick up the phone without hesitation.
- Widespread Damage: If you’re spotting multiple leak points or can see large patches of missing shingles from the ground, that’s a clear sign of a systemic problem that a simple patch won't fix.
- Leaks Near Electrical Fixtures: Water and wiring are a dangerous combination, creating an immediate risk of fire and electrocution. Never, ever try to handle this yourself.
- Signs of Structural Sagging: Is your roofline visibly drooping? That's a massive red flag indicating serious water damage to the underlying structure. It needs an expert assessment, and fast.
- You're Unsure of the Source: If you can't confidently find where the water is getting in, patching is just a shot in the dark. Professionals have the experience and tools to trace a leak back to its true origin.
A common mistake we see is people smearing sealant over wet shingles. This just traps moisture underneath. That trapped water will rot out your roof decking and create a perfect breeding ground for mold, guaranteeing a much more extensive and costly repair later.
At the end of the day, if the damage looks like more than just a few loose shingles, you're likely dealing with a bigger problem. It’s worth understanding the signs you need a new roof to avoid wasting money on temporary patches when a full replacement is the smarter, safer long-term investment.
Working With Your Homeowners Insurance Company
Figuring out what to do about a leaking roof is stressful enough without adding an insurance claim into the mix. Navigating that process can feel like a full-time job, but it helps to know where the insurance company usually draws the line.
The big distinction they make is between sudden, accidental damage and problems caused by a lack of maintenance. A leak from a tree limb that crashed down during a classic Central Florida thunderstorm? That’s almost always covered. But a slow drip from old, curled shingles that should have been replaced years ago? Insurance companies typically see that as a maintenance issue, which means the repair costs will likely come out of your own pocket.
Filing Your Claim and Documenting Everything
Your first call should be to your insurance agent. They can walk you through the specifics of your policy, explain your deductible, and get the official claim rolling. You'll need to give them the exact date you found the leak and describe all the damage you can see, both inside your home and on the roof itself.
The insurance company will then send out an adjuster to inspect the damage. This is where your own documentation becomes your most valuable asset. The adjuster is there to evaluate the claim based on the policy, but a detailed report from a trusted local roofer in the Central Florida area gives you a powerful second opinion.
I can't stress this enough: getting a professional roofing assessment before the adjuster arrives can completely change the outcome of your claim. A roofer is trained to spot storm-related damage—like subtle hail impacts or wind-lifted shingles—that an adjuster might overlook.
A roofer's report gives your claim credibility and helps you advocate for the full coverage you're entitled to. For homeowners and business owners in the Orlando or Tampa areas, where storms are a fact of life, this professional insight is especially important. You can see how a pro assessment strengthens the claims process for storm damage roof repair on our site. Having that expert report provides the detailed, credible evidence you need to make your case.
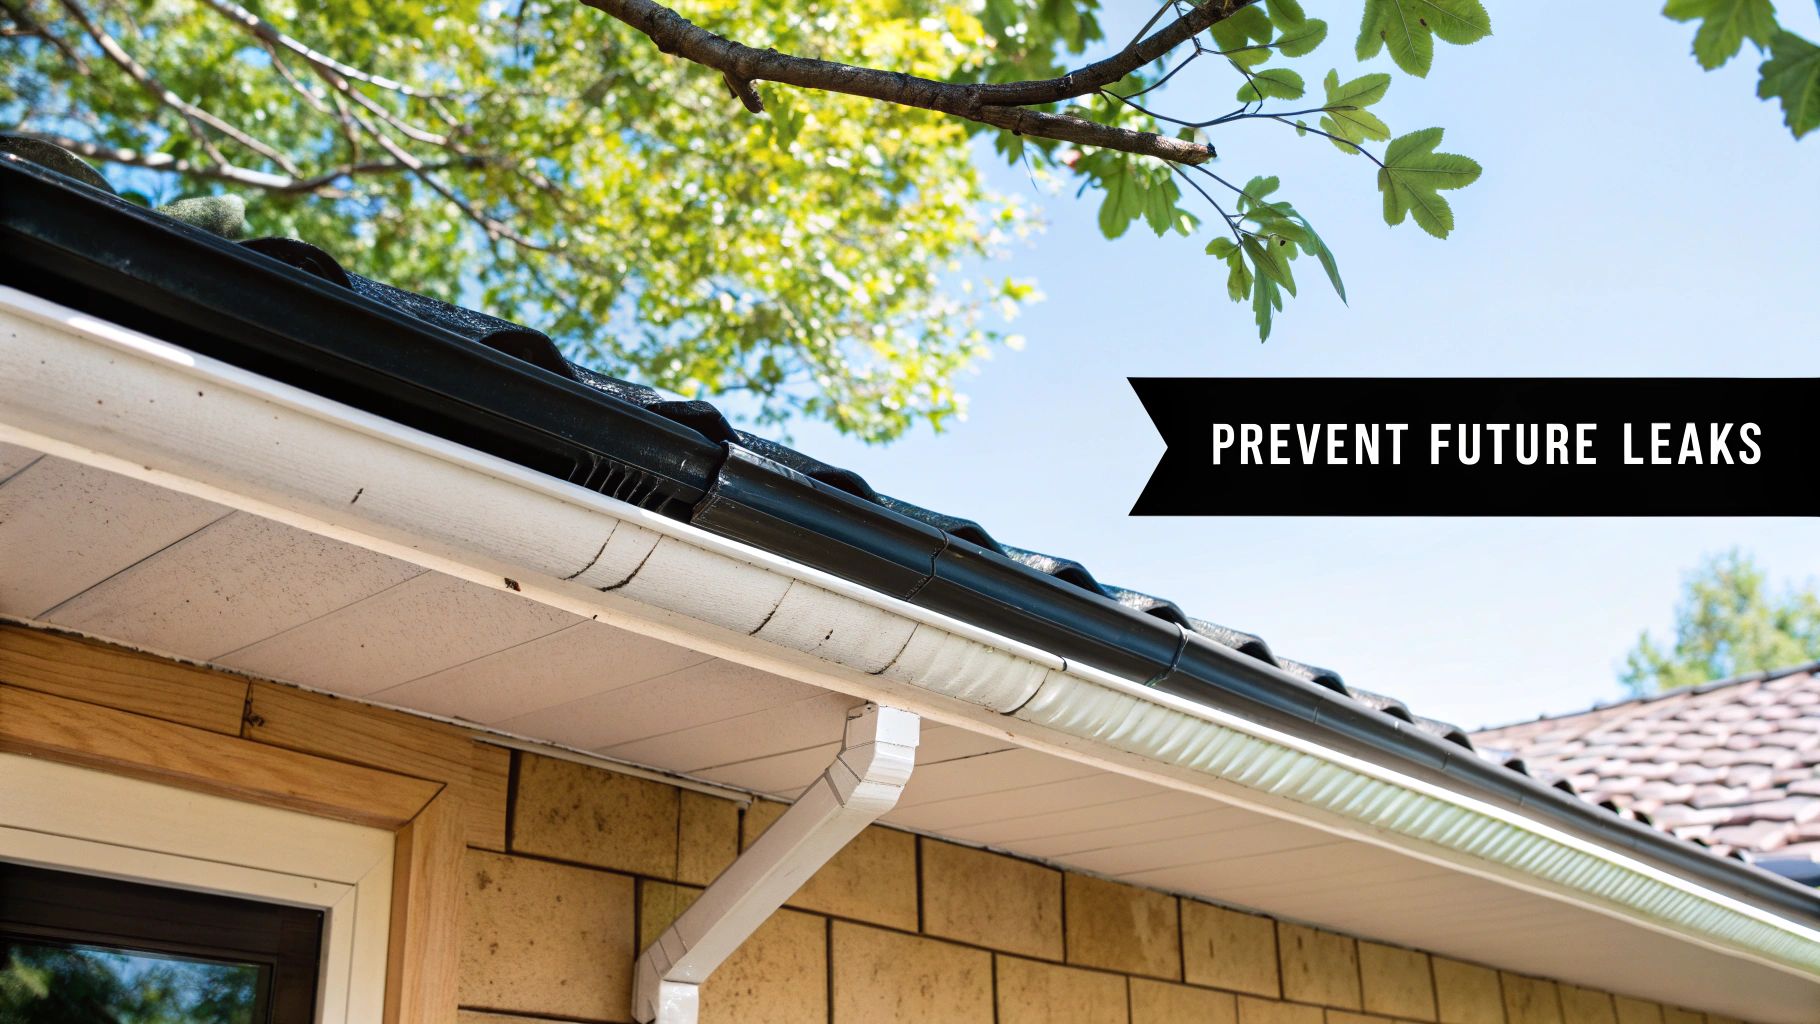
Keeping Future Leaks at Bay in the Florida Climate
Alright, your immediate leak is fixed and the buckets are put away. What's next? The conversation has to shift toward prevention.
Living in Central Florida means your roof is in a constant fight. It's battling intense UV rays one day and torrential downpours the next, all with the background threat of hurricane winds. Simply hoping for the best isn't a strategy; being proactive is the only real way to avoid another frantic call to a roofer.
You'd be surprised how much of a difference simple, routine maintenance can make. Think of it as a wellness check for your home's most important protector. Letting these tasks slide is basically rolling out the welcome mat for water damage.
Building a Proactive Maintenance Routine
A little effort a few times a year can save you from a world of expensive headaches down the road. Whether you're in Orlando or over in Pinellas County, focusing on these key areas will keep your roof doing its job.
-
Mind Your Gutters: When gutters get clogged with leaves and debris, rainwater has nowhere to go but up and under the edge of your roof. Keep them clear, especially after a big storm, so water can flow freely away from your house.
-
Trim Those Trees: Overhanging branches are a real menace. They can scrape the protective granules right off your shingles, and a heavy limb snapping in a storm can cause serious impact damage. It's best to keep them trimmed back from the roofline.
-
Check the Seals: From the ground, take a look at anything that pokes through your roof—vents, pipes, skylights. The sealant around these penetrations gets absolutely baked by the Florida sun, causing it to crack and fail. This is one of the most common spots for a leak to start.
The single best investment you can make is a routine professional roof inspection. A trained eye can spot subtle problems like hairline cracks in shingles or failing flashing long before they turn into a major leak.
This is even more critical for commercial properties in Tampa or Orlando with flat or low-slope roofs. Understanding your material options is also key. For instance, learning how a modern TPO roofing membrane holds up against our climate can make a huge difference in long-term performance.
Common Questions We Hear About Roof Leaks
When water starts dripping from your ceiling, your mind starts racing. It's totally normal to have a flood of questions, especially with the kind of weather we get here in Central Florida. We've helped countless homeowners and commercial property owners from Orlando to Pinellas County, and we tend to hear the same urgent questions. Let's get you some clear answers.
How Long Can a Temporary Patch Last?
Think of a tarp or a quick patch as a bandage, not a cure. It’s an emergency stop-gap meant to protect your home for a few days while you arrange for a professional roofer to get out there.
Leaving a "temporary" fix on for weeks is asking for trouble. Florida's intense sun and heavy rains will break it down quickly. Worse, it can trap moisture underneath, which can accelerate rot in your roof decking and turn a simple repair into a much bigger, more expensive project.
Can a Small Leak Cause a Lot of Damage?
Without a doubt. One of the biggest mistakes we see is homeowners underestimating a "minor" drip. It might seem insignificant, but that constant moisture is a silent destroyer.
Over time, it will saturate your insulation, rot out structural wood like rafters and joists, and create a perfect breeding ground for toxic mold inside your attic and walls. A tiny, ignored leak can easily rack up thousands of dollars in repairs to your home's structure, not to mention the cosmetic fixes.
A slow, hidden leak is often far more destructive than a sudden, major one. Why? Because it can go unnoticed for months, quietly compromising your home's framework. By the time you spot that tell-tale ceiling stain, the damage is often already widespread.
Will Insurance Cover a Leak on an Old Roof?
This is a tricky one, and it all comes down to the cause of the leak, not necessarily the age of your roof.
If the damage is from a specific, covered event—like a hailstorm tearing up your shingles or a tree branch falling during a storm—your policy will likely cover it. However, if the leak is simply due to old age, wear and tear, or deferred maintenance, you can expect the claim to be denied. It's always best to pull out your homeowners insurance policy and read the fine print.
When you need fast, professional answers and a reliable fix for your leaking roof, you can trust the experts at Hi Low Roofing & Solar. We provide free, no-obligation inspections for homeowners and businesses across Central Florida, from Pinellas County to Orlando, to give you clarity and peace of mind. Schedule your inspection today by visiting https://hilowroofing.com.