

Before you can even think about a repair, you have to play detective. The real work starts with a thorough diagnosis—pinpointing exactly where your garage roof is failing. This means starting inside to find the evidence, then safely taking the investigation outside to find the culprit. Catching a problem early is the difference between a simple patch job and a budget-breaking replacement.
How to Spot Garage Roof Problems Early
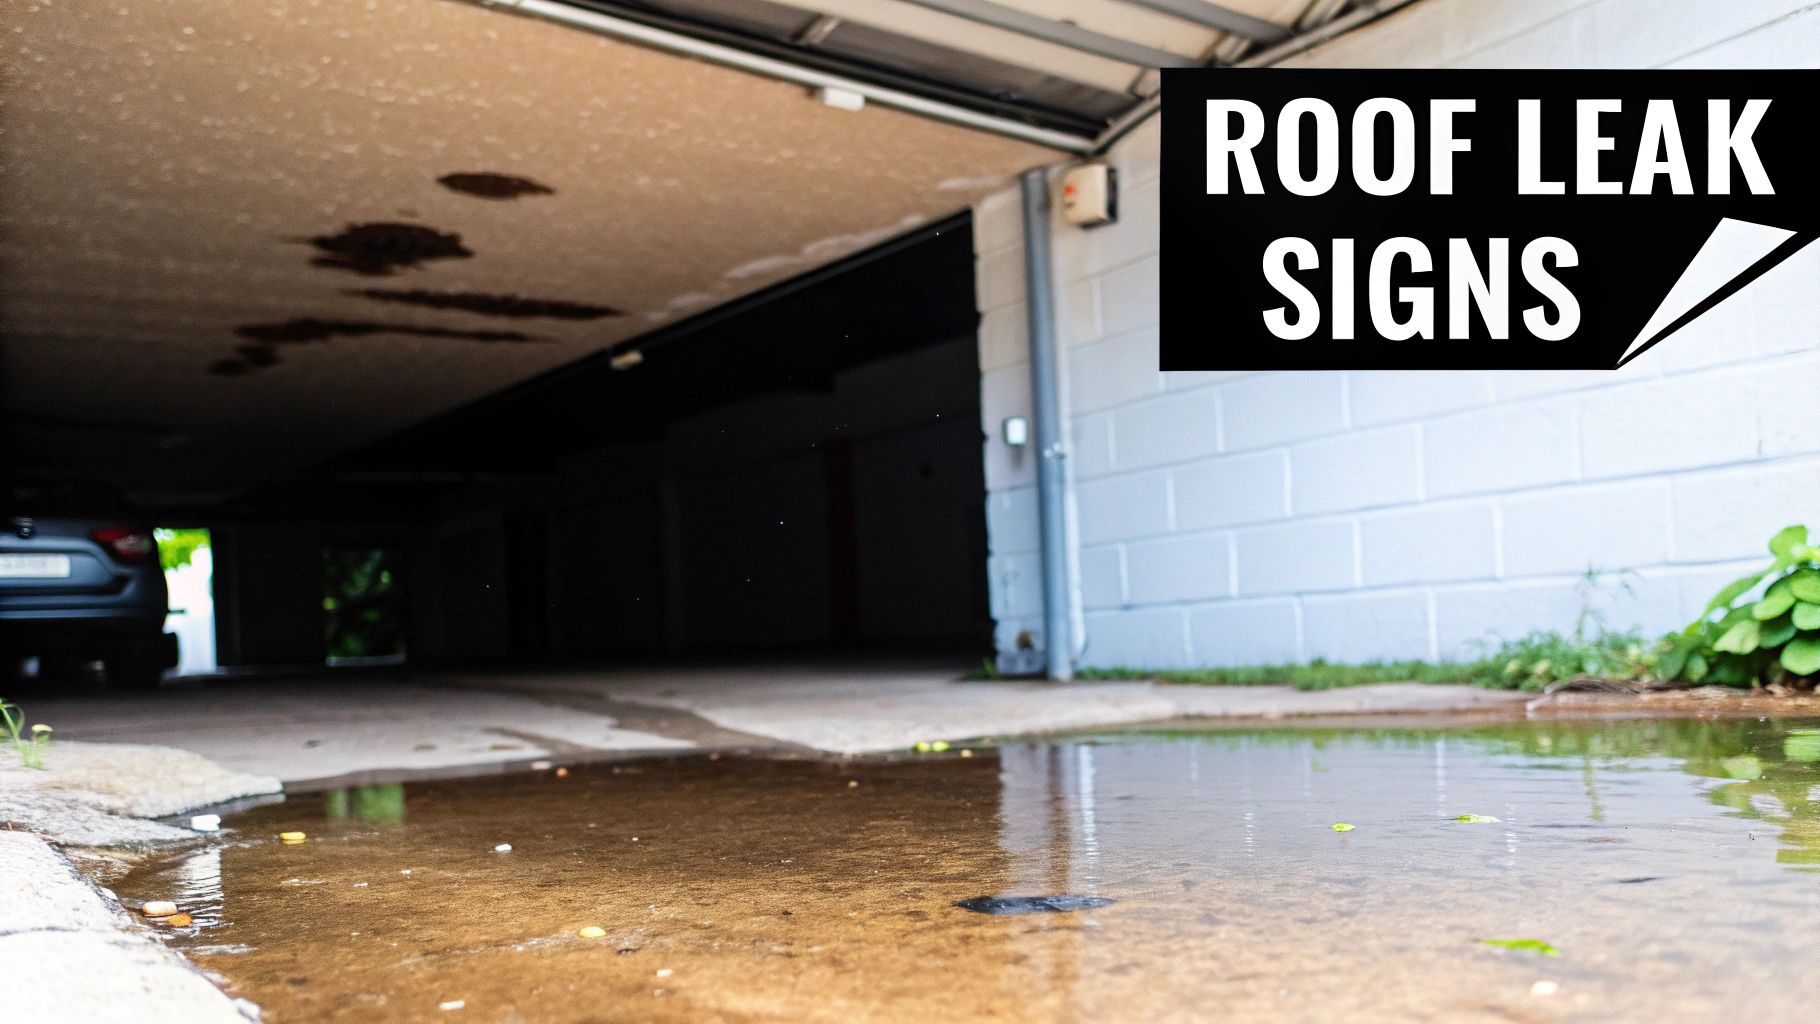
So you've noticed it. That tell-tale dark spot on the ceiling or a small puddle on the garage floor after a storm. It’s easy to feel a sense of dread, but now isn't the time to panic—it's time to investigate. Finding the source of a leak, especially in Florida's demanding climate, is the first and most important step.
We'll walk you through how to spot those sneaky interior clues and trace them back to the roof. After that, we’ll cover how to perform a safe exterior check to find the common weak spots that buckle under the intense sun and heavy downpours we see from Pinellas County all the way over to Orlando.
Start Your Investigation Inside
Often, the first clues that your roof is in trouble show up inside the garage. And we're not just talking about active drips during a downpour. The evidence can be much more subtle, hanging around long after the skies have cleared.
Flip on the lights and just look up. Give extra attention to corners, seams, and anywhere you have a light fixture or vent cutting through the ceiling.
Here’s what you’re looking for:
- Discolored Stains: Those brownish or yellowish rings on the ceiling are the classic calling card of a slow, steady leak.
- Peeling Paint or Bubbling Drywall: When moisture gets in, it causes paint to let go and drywall to get soft and swell.
- A Musty or Earthy Smell: If you get a persistent damp odor that won't go away, you're likely dealing with hidden moisture, which can lead to mold and mildew.
- Visible Sagging: This is a major red flag. A droop in the ceiling means water has likely saturated the decking, which could be a serious structural problem.
Remember, these interior signs are just your starting point. Water is tricky; it can travel along rafters or decking before it finally decides to drip, so the stain on your ceiling might not be directly under the hole in your roof.
Take a Safe Look Outside
Once you’ve pinpointed the general area from your inside check, it’s time to head outdoors. Let us be clear: safety is everything here. Only get on a ladder if it’s sturdy, on level ground, and you're completely comfortable with it. Never, ever walk on a roof that's wet, icy, or excessively steep.
From the ground or a secure spot on your ladder, give the roof a good scan. You’re looking for anything that just doesn't look right.
Pro Tip: Grab a pair of binoculars. They let you get a great, close-up look at your shingles and flashing from the safety of the ground or the top of your ladder.
For homes here in Florida, from Pinellas County to Orlando, these are the usual suspects:
- Cracked, Curling, or Missing Shingles: Our relentless sun literally bakes the life out of asphalt shingles, leaving them brittle and easy for a strong wind to tear off.
- Damaged Flashing: This is huge. Check the metal strips around vents, chimneys, or where the garage roof meets a wall. Any gaps, rust, or bent sections are an open invitation for water.
- Worn Sealant: Take a look at the caulk around those same flashings and vents. If it’s cracked, peeling away, or gone altogether, it’s useless.
- Granule Loss: See a bunch of sandy, grit-like material in your gutters? Those are the protective granules from your shingles. A heavy accumulation means they're nearing the end of their life.
Figuring out if you have a minor sealant issue versus widespread shingle failure is crucial. If the problem isn't obvious, bringing in a pro for roof leak detection in Lakeland or your local Central Florida area can save a lot of headaches. They have the tools to find the exact source, which means no guesswork and no repeat repair jobs.
Gearing Up: The Right Tools and Materials for the Job
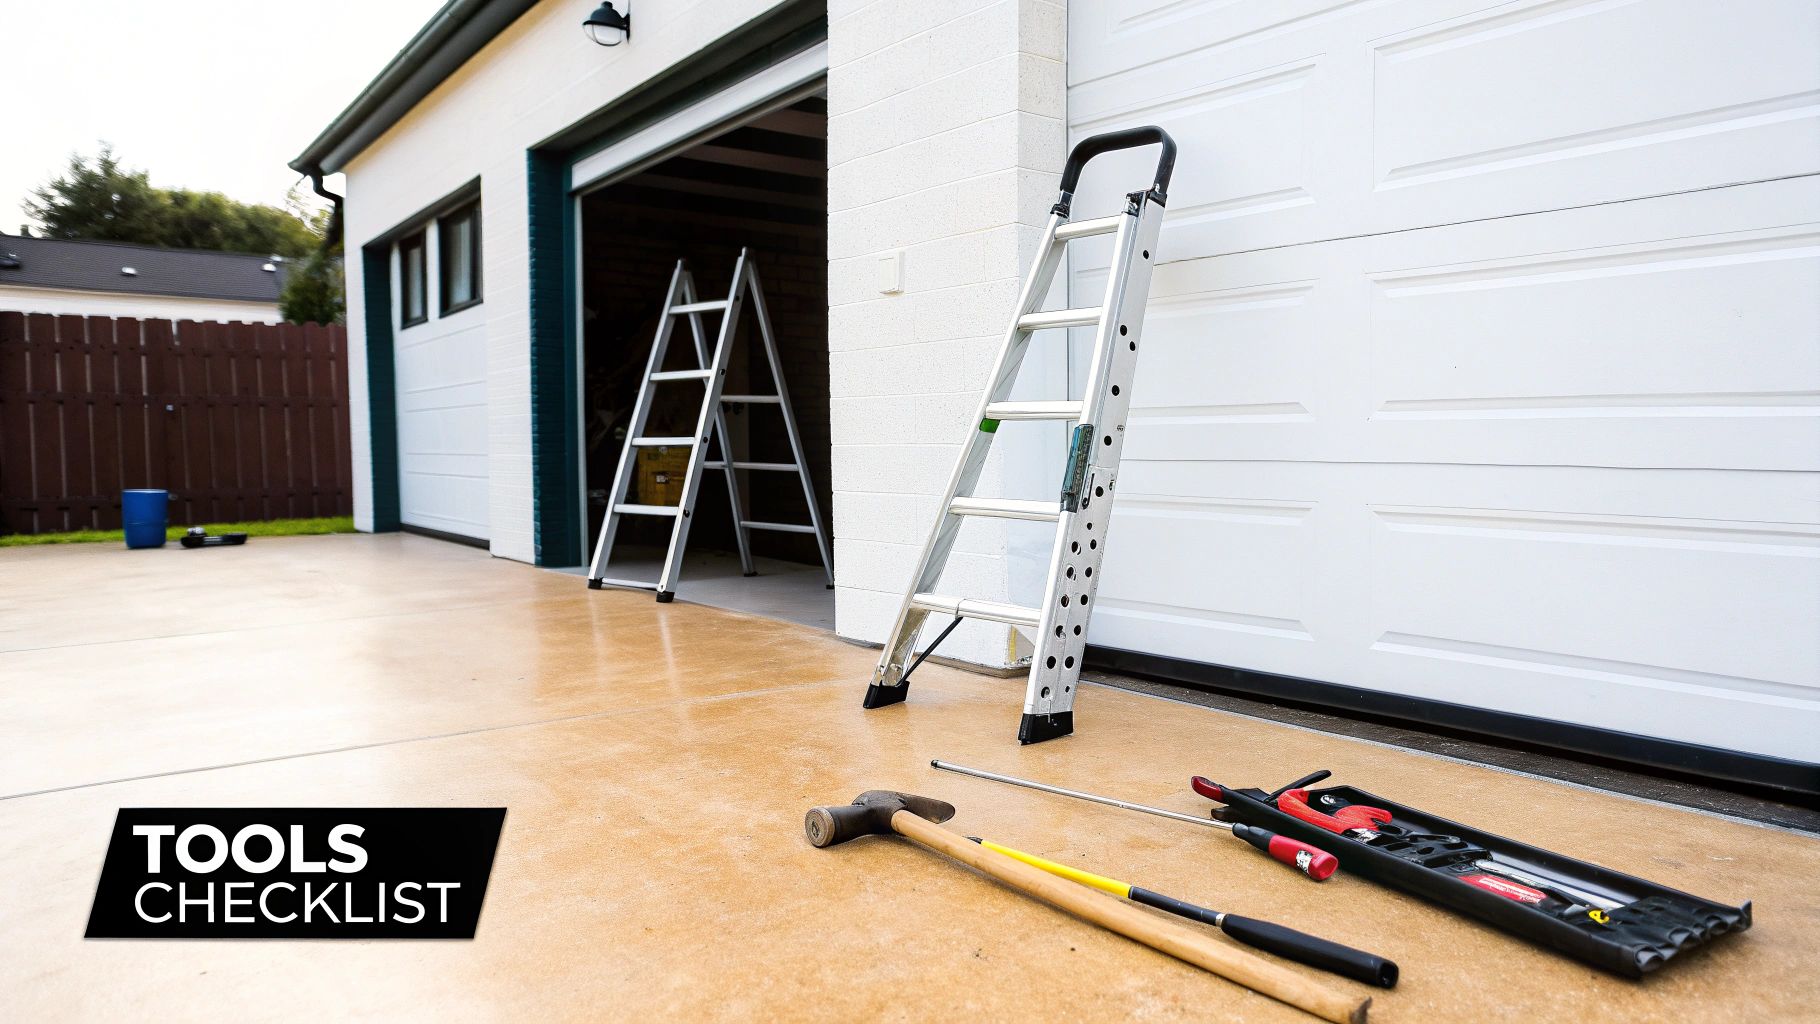
Before you even think about climbing up on that roof, let's talk about getting prepared. We've seen it a hundred times: a homeowner heads to the hardware store without a clear list and ends up making three more trips, burning daylight and patience. Having every single tool and the right materials laid out before you start makes the whole process smoother, safer, and a lot less frustrating.
Let’s get your shopping list put together, focusing not just on the tools, but on materials that are actually tough enough for our brutal Central Florida weather.
Safety First—Always
Look, we’ll dive deeper into safety later, but this part is non-negotiable. Your first priority has to be protecting yourself. Don't even consider starting the job without these essentials.
- A Solid Ladder: Make sure it’s tall enough to stick out at least three feet above the roofline. And please, set it up on firm, level ground. A wobbly ladder is an accident waiting to happen.
- Good Boots: Grip is everything up there. A pair of rubber-soled work boots can be the difference between a secure footing and a dangerous slip.
- Gloves and Glasses: You need sturdy work gloves to protect your hands from sharp shingle edges and safety glasses to keep debris and dust out of your eyes.
Seriously, this is the bare minimum. Trying to fix a garage roof without this gear is just asking for trouble.
Your Essential Repair Toolkit
With your safety gear sorted, you can focus on the tools that will do the real work. For most common garage roof fixes—like swapping out a few damaged shingles or sealing a gap—you don't need a truck full of specialized equipment.
Here's what your core toolkit should include:
- Flat Pry Bar: This will be your best friend for carefully lifting existing shingles without cracking the ones around them.
- Hammer or Roofing Nailer: You’ll need this to secure new shingles properly.
- Utility Knife with Hooked Blades: That hooked blade isn’t a gimmick; it’s designed to slice through asphalt shingles cleanly and easily.
- Caulk Gun: For applying roofing cement and sealant right where you need it.
- Chalk Line: This is the key to keeping your new rows of shingles perfectly straight.
- Measuring Tape: Measure twice, cut once. It’s an old saying for a reason.
Having these tools ready to go means you can work efficiently without constantly climbing up and down the ladder because you forgot something.
Choosing Materials Built to Survive in Florida
This is where a lot of DIY repairs fail. Just grabbing any old tube of sealant or the cheapest bundle of shingles won't last long in the humid, high-UV environment we have from Pinellas County to Orlando. The materials you choose will determine if your fix holds up for a single season or for many years to come.
When you're shopping, look for these specifics:
- Asphalt Roofing Cement: This is the thick, tar-like stuff that works as your main adhesive and waterproofer. We always recommend finding a product rated for wet-surface application. With Florida’s pop-up showers, you’ll be glad you did.
- High-Quality Sealant: For sealing around flashing and vents, grab a polyurethane-based sealant. It stays flexible under the intense sun, which prevents the cracking and shrinking that cheaper silicone caulks are known for.
- Matching Shingles: Do yourself a favor and bring a piece of your old shingle to the store. Matching the color is great for looks, but matching the brand is even more important to ensure the new shingles lock in correctly with the old ones.
- The Right Nails: Don't skimp here. Use galvanized steel roofing nails that are at least 1 ¼ inches long. They have to be long enough to punch all the way through the shingle and bite securely into the roof decking underneath.
Choosing the right materials is the most critical step to properly fix a garage roof and make sure your hard work stands up to the next hurricane season. You're not just patching a leak; you're reinforcing your garage's first line of defense.
Comparing Common Garage Roofing Materials in Florida
Choosing the right material from the start is half the battle. Down here in Central Florida, our options have to withstand intense sun, heavy rain, and high humidity. Here's a quick rundown of the most common materials we see on garages in our area.
| Material Type | Average Lifespan (Florida) | Typical Repair Cost | Best For |
|---|---|---|---|
| Asphalt Shingles | 15-20 years | $250 – $600 | Budget-conscious homeowners needing a versatile, common solution. |
| Metal Roofing | 40-60+ years | $400 – $1,200 | Long-term durability, energy efficiency, and storm resistance. |
| Modified Bitumen | 10-15 years | $300 – $800 | Flat or low-slope garage roofs requiring a durable, waterproof membrane. |
| EPDM Rubber | 20-30 years | $350 – $900 | DIY-friendly flat roof applications; excellent waterproofing. |
While asphalt shingles are often the go-to for pitched garage roofs due to their low cost, don't overlook metal if you're planning on staying in your home long-term. For the common flat-roofed garages we see, modified bitumen or EPDM are far superior choices for preventing leaks.
Your Game Plan for Tackling Common Roof Leaks
Alright, you've got your tools and materials lined up. Now for the real work. This is where we get our hands dirty and fix the problems causing that frustrating garage roof leak. We're going to walk through the most common issues we see on homes all over Central Florida, from swapping out bad asphalt shingles to sealing up those weak spots around flashing.
Our goal here is to give you a clear, no-nonsense roadmap. When we're done, you should feel confident enough to tackle these repairs yourself and know the fix will last through the next big storm.
Dealing with Damaged Asphalt Shingles
The Florida sun is absolutely brutal on asphalt shingles. It doesn't take long for them to crack, curl up at the edges, or get ripped off by a strong gust of wind. Any of these create a perfect entry point for rain. The good news is that replacing a single shingle is probably the most common DIY roof repair out there.
First things first, you have to break the seal on the shingles above the one you're replacing. Grab a flat pry bar and gently work it under the edge. The key is to go slow and ease them apart without cracking the good shingles. You'll need to do this for the shingles on both sides of the damaged one, too.
Once those are loose, you can see the nails holding the bad shingle down.
- Carefully lift the shingle above to get a clear shot at the nail heads.
- Use your pry bar to pop out the four nails holding the damaged shingle.
- Slide that old, busted shingle out.
Now, just slide the new shingle into position, making sure it lines up nicely with its neighbors. Nail it down with four 1 ¼-inch galvanized roofing nails, right where the old ones were. The final step is to put a good dab of asphalt roofing cement under the tabs of the shingles you pried up. Press them down firmly to create a new, solid seal.
Take your time with this. Rushing and cracking the surrounding shingles just means you've created more work for yourself and more potential leak spots. This is especially true on a hot day when the shingles are softer and more forgiving.
Sealing Gaps Around Flashing
If you're seeing water stains near vents, pipes, or where the garage roof meets a wall, your flashing is almost certainly the problem. Flashing is just metal stripping that guides water away from these joints, but the sealant used to waterproof it can dry out and fail over the years.
Fixing this is pretty straightforward but incredibly important. Start by giving the whole area a good cleaning with a wire brush. You need to get rid of all the old, cracked sealant, dirt, and any other gunk. The new sealant won't stick properly if the surface isn't clean.
Next, load up your caulk gun with a high-quality, polyurethane-based roofing sealant. Apply a nice, continuous bead right along the top edge of the flashing. Don't be shy with it—you want to completely fill that gap. Then, use a putty knife or even just a gloved finger to smooth the bead down, pushing it into the seam for a perfect, watertight seal.
Patching Tricks for Flat or Low-Slope Roofs
A lot of garages, especially across Central Florida, have flat or low-slope roofs covered in materials like modified bitumen or EPDM rubber. These need a totally different repair strategy than shingled roofs. Here, leaks usually come from punctures, blisters, or seams that have given up.
For a small hole or crack in a modified bitumen roof, a patch is your best bet.
- Prep the Area: Clean the spot thoroughly, going about six inches out from the damage in all directions. You need to get all the gravel, dirt, and loose stuff off.
- Cut Your Patch: Cut a piece of matching patch material so it overlaps the hole by at least three or four inches on all sides. We always round the corners of the patch—it really helps stop them from peeling up later on.
- Lay Down Adhesive: Spread a thick, even layer of asphalt roofing cement over the entire cleaned area.
- Set the Patch: Press your patch firmly into the cement. Work from the center out to squeeze out any air bubbles.
- Seal It Up: Finish by applying another layer of roofing cement over the whole patch, paying special attention to covering the edges completely. This is your final waterproofing coat.
For anyone currently dealing with an active drip, knowing what to do right now is critical. Our guide on what to do when you have a leaking roof gives you the immediate steps to take to control the water and prevent further damage while you get your repair plan together. Acting fast can be the difference between a simple patch job and a huge bill for interior repairs.
Essential Safety for Any Roofing Project
Tackling a garage roof repair yourself is a serious undertaking. Let's be honest, no matter how small that leak seems, it's not worth a trip to the emergency room. Before you even pull out the ladder, you need to get your head in the right space—safety first, always. This is more than just worrying about a fall; it's about handling all the unique risks that come with working outdoors, especially here in Central Florida.
This quick guide will walk you through the essential precautions for a safe shingle repair.
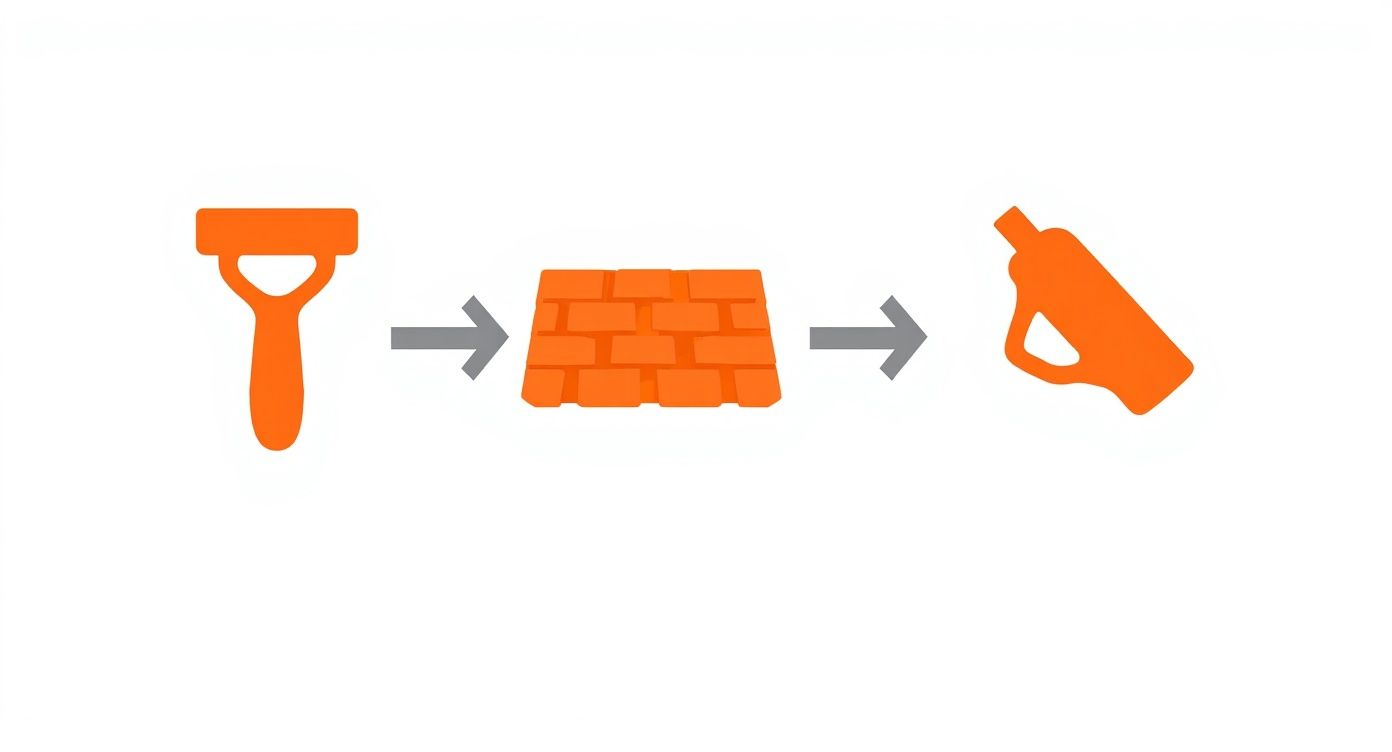
This process flow breaks a basic repair down into three simple actions: lift, replace, and seal. But every single one of those actions has to be done with deliberate attention to your safety.
Preparing Your Work Area
The most important part of any roofing job actually starts on the ground. A stable ladder is your lifeline, and that can be a real challenge in Florida with our sandy, soft soil. Always make sure your ladder is on a firm, level surface. If the ground feels even a little soft, lay down a sturdy piece of plywood first.
Get into the habit of using the three points of contact rule. That means you should always have two hands and one foot, or two feet and one hand, on the ladder as you're going up or down. It’s a simple technique that dramatically cuts your risk of a slip.
Working with the Florida Weather
From Pinellas County over to Orlando, the weather isn't just a conversation starter—it's a massive safety factor. Picking the right time to do the work is just as critical as having the right tools.
- Avoid Peak Heat: We've seen it happen too many times. Working on a dark shingle roof in the middle of a Florida summer afternoon is a recipe for disaster. The heat can lead to exhaustion or even heatstroke faster than you think. Plan your repair for the early morning or later in the evening when things have cooled down.
- Watch the Skies: Those afternoon thunderstorms are a daily ritual for us. Always check the forecast and get off the roof at the first sign of rain or lightning. A wet roof is like an ice rink, and it's just not worth the risk.
A sudden gust of wind, which almost always precedes a storm, can knock you off balance or turn a loose shingle into a projectile. If the weather turns, don't try to finish up. Just pack it in and get down safely.
Moving Safely and Wearing the Right Gear
Once you're actually on the roof, every movement needs to be slow and intentional. Keep your weight distributed evenly and avoid any sudden, jerky motions. And please, don't treat personal protective equipment (PPE) as optional. It’s absolutely essential.
Here’s your non-negotiable PPE list:
- Safety Glasses: Protect your eyes from falling shingle granules, debris, and stray nails.
- Sturdy Gloves: Shingle edges are surprisingly sharp. Good gloves will save your hands from cuts and scrapes.
- Non-Slip Footwear: This is critical. You need rubber-soled work boots with excellent traction to keep your footing.
Finally, know your limits. If the roof feels too steep, if you notice soft spots under your feet, or if you just feel uneasy up there, stop. Those are huge red flags telling you the job is too dangerous for a DIY fix. Making the call to a professional is the smartest and safest thing you can do.
Knowing When to Call a Roofing Professional
A successful DIY project isn’t just about knowing how to do the work; it’s about knowing when not to. There comes a point where even the most dedicated homeowner has to set the tools down and call for backup. Pushing your limits on a garage roof repair can quickly turn a minor fix into an expensive, and frankly, dangerous disaster.
Learning to spot the red flags is the most important skill you can have. It protects your property, your wallet, and your own safety. For homeowners here in Central Florida, from Pinellas County clear over to Orlando, recognizing these signs is especially critical given our weather.
Red Flags That Scream "Call a Pro"
Some issues are more than just a simple patch job. If you come across any of these, it's a clear signal that the problem runs deeper than what you can see on the surface.
- A Soft or Spongy Roof Deck: Pay attention to how the roof feels under your feet. If it’s soft, bouncy, or feels like you’re walking on a trampoline, that's a serious structural warning. It’s a classic sign that water has gotten past the shingles and has been slowly rotting the wood decking underneath.
- Widespread Shingle Damage: It's one thing to replace a few shingles that a storm tore off. It's another thing entirely when a huge section of your garage roof is a mess of missing, cracked, or curling shingles. That kind of widespread damage means the integrity of the whole system is questionable.
- Leaks You Can't Pinpoint: Chasing a leak can be maddening. You patch one spot, think you've fixed it, and then the stain reappears a few feet away after the next rain. Water is tricky; it can travel along rafters and behind walls. A pro has the experience and tools to trace these mystery leaks back to their real source.
- Evidence of Pests: Found signs of squirrels, birds, or other critters making a home in your garage attic? They don't just chew through shingles. Pests can destroy decking, tear up insulation, and even compromise wiring. This requires a much more thorough inspection than just a simple roof patch.
A professional assessment isn’t just about getting a quote. It’s an investment in peace of mind. A licensed roofer can identify underlying issues that could cost you thousands in water damage down the line if left unaddressed.
The Value of a Licensed Florida Contractor
Bringing in a professional roofer brings a lot more to the table than just skilled labor. Especially for those of us in the Pinellas or Orlando metro areas, a local contractor provides a few key advantages you just can't replicate on your own.
First off, they know the local building codes inside and out. Florida has some of the toughest roofing codes in the nation, and for good reason—hurricanes. A licensed roofer makes sure your repair is up to code, which is essential for your insurance and the safety of the structure.
Then there's the warranty. A good company will always stand behind its work with both material and workmanship warranties. If that repair fails before it should, you’re covered. That's a safety net you simply don't have when you tackle the job yourself. Getting a quote for a professional roof repair in Orlando is a great way to see what that long-term security will look like.
Finally, a pro has access to commercial-grade materials and equipment that you won’t find at the local home improvement store. That quality, combined with years of experience, ensures the job isn't just done, but done right—built to handle the next torrential Florida downpour and the brutal summer sun.
Got Questions About Your Garage Roof? We’ve Got Answers.
Even the most straightforward projects can leave you scratching your head. When it comes to fixing a garage roof, homeowners from Tampa to Orlando tend to ask the same questions. Let’s tackle some of the most common ones with some practical, no-nonsense advice.
What’s the Real Cost to Fix a Garage Roof in Florida?
This is always the big one, and the honest-to-goodness answer is: it really depends. If you're tackling a small patch on a single shingle yourself, you might get away with spending just $30 to $50 on materials. But when you bring in the pros, the numbers can vary quite a bit.
Here’s what really moves the needle on the final price tag for a Central Florida homeowner:
- How bad is the damage? A few blown-off shingles are a relatively simple fix. But if we find rotted decking underneath, the scope (and cost) of the job grows significantly.
- What kind of roof is it? Repairing standard asphalt shingles is usually the most budget-friendly option. Working on a metal or tile roof requires different skills and materials, which often costs more.
- Can we get to it easily? A steep, hard-to-reach garage roof means more time, labor, and safety gear. That all gets factored into the quote.
For a minor professional repair, folks in places like Lakeland or Winter Garden can probably expect to pay a few hundred dollars. More serious issues can easily top a thousand. The national average for a roof repair hovers around $750, which is a decent benchmark, but our local labor and material costs here in Florida are what truly matter.
Can I Just Put a New Roof Over the Old One?
Layering new shingles on top of an old set—a shortcut known as a "roof-over"—can sound like a great way to save a buck. We get the appeal, but for anyone living in Florida, this is almost always a bad move. Our climate just doesn't play nice with this kind of fix.
The first problem is weight. Shingles are surprisingly heavy, and doubling up puts a lot of extra strain on your garage's structure. But the real dealbreaker is what you can't see. A roof-over means you’re skipping the inspection of the wood decking underneath. You could be sealing in soft spots, active rot, or moisture, effectively hiding a problem that will only get worse.
A full tear-off is the professional standard for a reason. It’s the only way to be 100% sure the roof deck is sound. It lets us build a new, properly sealed roofing system from the ground up—one that can actually stand up to Florida’s hurricane seasons and relentless humidity.
The roofing industry is growing fast, with some projecting the North American market will hit $41 billion by 2031. That growth isn't coming from quick fixes; it's driven by homeowners demanding durable, correctly installed roofs. It just goes to show that shortcuts are out, and reliable, long-term solutions are in.
What Are the Best Roofing Materials for a Florida Garage?
Picking the right material is everything for a Florida roof. It has to endure a daily assault from intense UV rays, oppressive humidity, and sudden downpours. Your garage roof is no different.
- Asphalt Shingles: This is what you see on most homes—they make up about 80% of residential roofs in the country. They offer a solid mix of performance and affordability. Our advice for Florida is to go with architectural or dimensional shingles. They're thicker and hold up to wind much better than the standard, flat 3-tab shingles.
- Metal Roofing: It’s a bigger investment upfront, no doubt about it. But a metal roof is a fantastic long-term solution. It’s tough as nails, shrugs off major storms, and reflects the sun's heat, which can actually help keep your garage cooler. If your garage is attached, that could even mean lower energy bills.
- Modified Bitumen: If you have a flat or low-slope garage roof, which is common around here, this is your best bet. It’s a heavy-duty, waterproof membrane made specifically for surfaces where water might pool. It handles standing water and brutal sun exposure that would ruin other materials in no time.
Ultimately, the right choice comes down to your garage's design, your budget, and your long-term plans. Each material has its place, but the most important thing is that it’s installed by someone who knows how to make it last in the unique Central Florida climate.
When a DIY patch just won’t cut it, or if you simply want the peace of mind that comes with a professional warranty, the team at Hi Low Roofing is here to help. We offer free, no-obligation inspections across Central Florida to give you an honest assessment and a clear path forward for your garage roof. Schedule your inspection online and let's get it sorted.