

For property managers and business owners in Central Florida, a commercial roof is a multi-million dollar asset protecting everything underneath. From the intense sun and humidity of Orlando to the coastal air in Pinellas County, Florida's unique climate is relentless, placing extreme stress on roofing materials year-round. A superficial, casual look from the ground simply won't catch the subtle signs of thermal shock, UV degradation, or water intrusion that can lead to catastrophic failures and expensive, disruptive repairs. A systematic evaluation is not just recommended; it's essential for asset protection and operational continuity.
This comprehensive commercial roof inspection checklist moves beyond a simple glance, providing a structured framework for a thorough, professional assessment. We will detail the exact items that roofing experts in Central Florida evaluate to diagnose the health of your entire roofing system. This is the same systematic approach trusted by professionals like Hi Low Roofing & Solar to identify potential vulnerabilities before they escalate into costly emergencies. By following this guide, you will understand how to proactively manage your roofing asset, ensuring it remains secure, compliant, and ready to withstand the next hurricane season. Let's break down the eight critical points of a professional inspection.
1. Roof Membrane Condition Assessment
The roof membrane is your building's primary line of defense against the elements, serving as the essential waterproofing layer. A thorough membrane assessment is the cornerstone of any effective commercial roof inspection checklist because its condition directly impacts the building's structural integrity and interior safety. This inspection involves a meticulous examination of the entire surface for common signs of wear and tear, including punctures, cracks, blisters, open seams, and evidence of shrinkage from UV exposure.
Different commercial roofing systems utilize various materials, each with unique characteristics. Whether your property in Orlando has a TPO, EPDM, PVC, or modified bitumen roof, a detailed inspection can pinpoint vulnerabilities before they escalate into costly leaks and extensive water damage. A proactive approach to membrane maintenance is a proven strategy for maximizing your roof's service life and preventing disruptive emergency repairs for businesses from Tampa to Orlando.
Why This Assessment is Crucial
Ignoring the early signs of membrane deterioration can have significant consequences. For instance, a Central Florida manufacturing facility avoided over $500,000 in potential equipment damage by identifying small punctures during a routine fall inspection before the rainy season. Similarly, a major retail chain with numerous Florida locations reduced its emergency roof repair budget by 40% after implementing quarterly membrane inspections. These examples highlight the immense ROI of proactive assessment.
This infographic provides a quick reference for the most common membrane types and key inspection focal points.
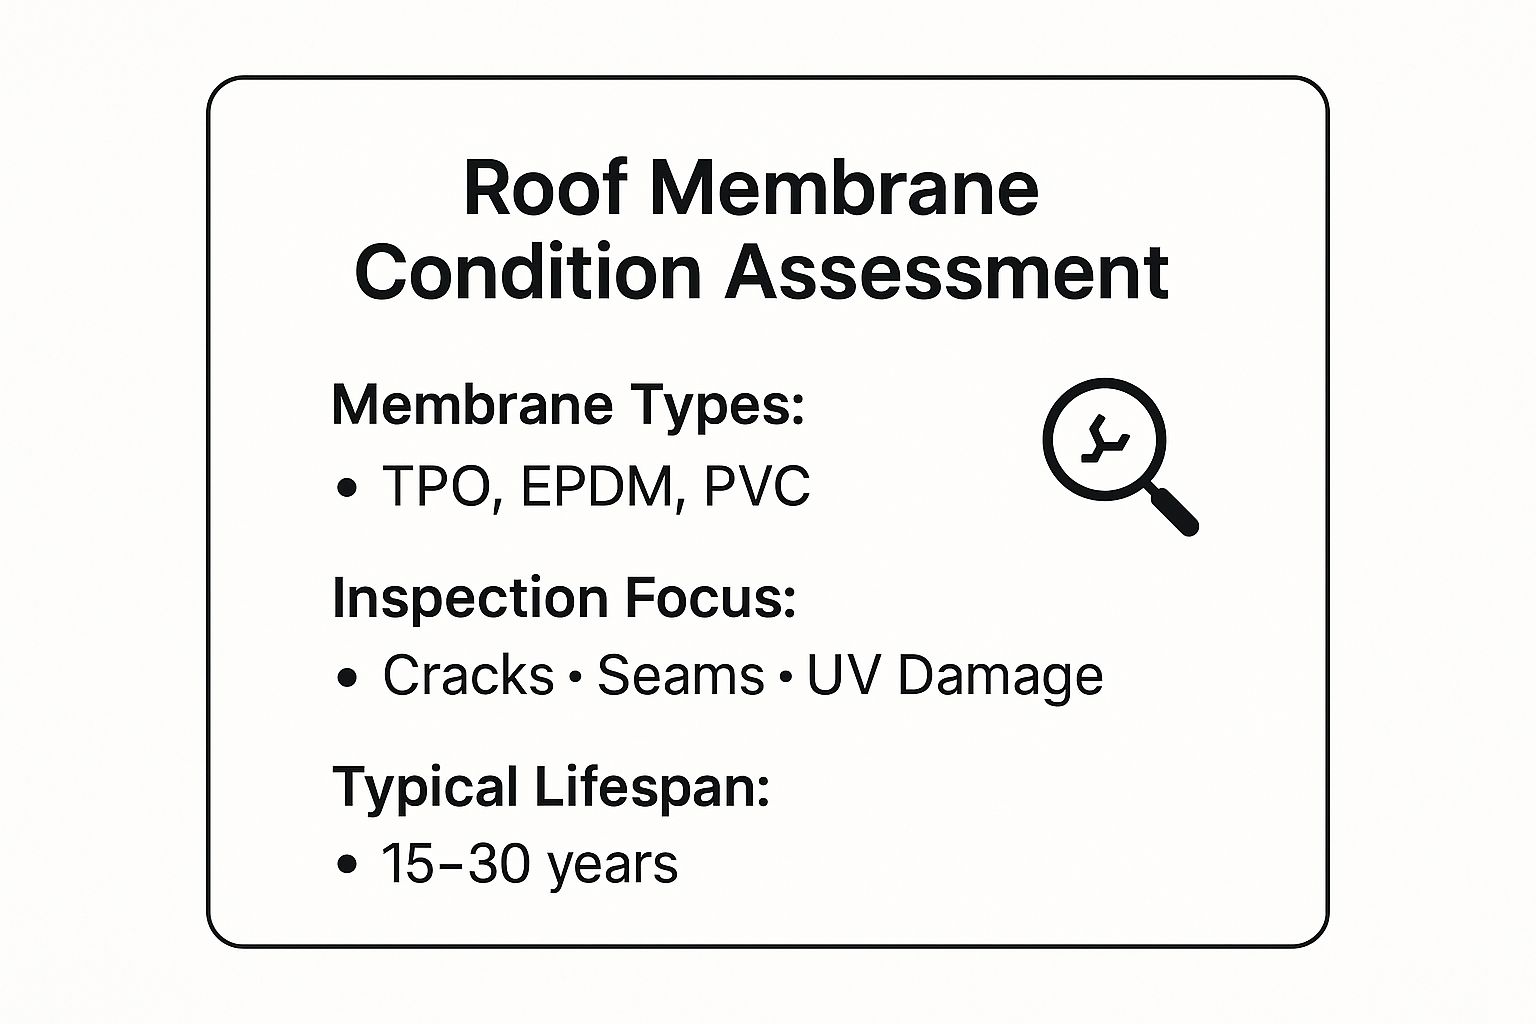
As the summary shows, focusing on critical areas like seams and signs of UV damage is essential for preserving the typical 15 to 30-year lifespan of these systems.
Actionable Tips for Membrane Inspection
To ensure a comprehensive and effective assessment, follow these practical steps:
- Schedule strategically: Conduct inspections twice a year, ideally in the spring and fall, to identify any damage sustained during Florida's harsh summer sun or winter storm season.
- Document everything: Use a grid system to map out large roof areas, ensuring no section is missed. Take high-resolution, date-stamped photographs of any defects to create a detailed record.
- Maintain a historical log: Tracking the progression of minor issues over time helps identify deterioration patterns and informs long-term maintenance planning. For those with single-ply systems, you can learn more about TPO roofing membranes and their maintenance needs to better understand what to look for.
- Consider thermal imaging: For a deeper analysis, thermal imaging can detect trapped moisture beneath the membrane that is invisible to the naked eye, a critical step in preventing widespread rot and decay.
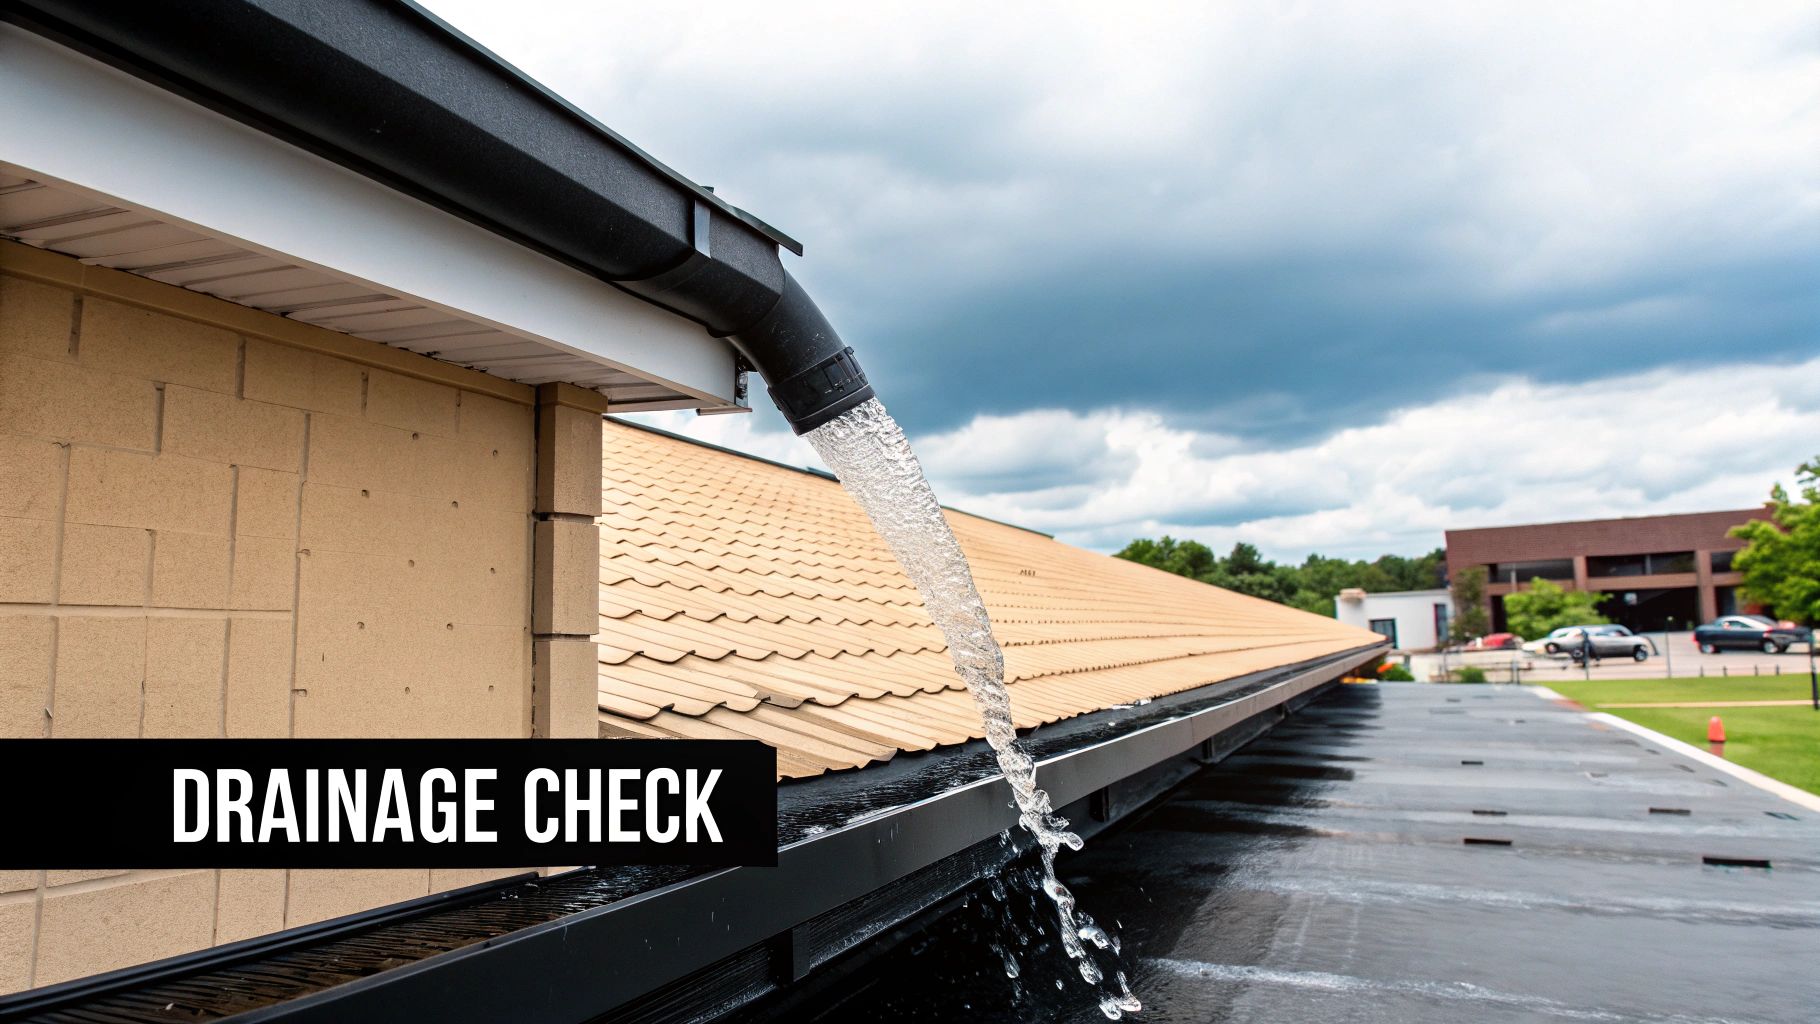
2. Drainage System Evaluation
A commercial roof’s drainage system is its circulatory system, designed to efficiently remove water and prevent it from accumulating. This part of a commercial roof inspection checklist focuses on evaluating every component responsible for water removal, including internal drains, scuppers, gutters, and downspouts. Proper drainage is non-negotiable, as standing water (or ponding) that remains for more than 48 hours can drastically accelerate membrane deterioration, add significant weight stress to the structure, and create an environment for algae and vegetation growth.
A comprehensive drainage evaluation identifies blockages from debris, checks for insufficient capacity, and uncovers potential design flaws before they lead to catastrophic failures. For property managers in Central Florida, where intense rain events are common, ensuring the roof's drainage system is fully operational is a critical aspect of risk management. A proactive approach protects the building asset and prevents business disruptions caused by water infiltration.
Why This Assessment is Crucial
Neglecting the drainage system is a costly mistake. For example, a large distribution center in the Orlando area implemented a quarterly drain cleaning program after an inspection found significant blockages, reducing their water infiltration incidents by over 80% during the next storm season. In another case, a Pinellas County school district avoided significant liability exposure by adding overflow scuppers to its buildings after an inspection revealed its existing drainage systems were not up to code for Florida’s rainfall intensity. These scenarios demonstrate that a well-maintained drainage system is fundamental to roof longevity and safety.
Proper drainage is not just a maintenance recommendation; it's a core requirement outlined in technical guidance from the National Roofing Contractors Association (NRCA) and the International Plumbing Code (IPC) to ensure structural stability.
Actionable Tips for Drainage Inspection
To guarantee your roof sheds water effectively, incorporate these detailed steps into your inspection routine:
- Clear all debris: Before any assessment, meticulously clear leaves, dirt, and other blockages from all drains, scuppers, gutters, and downspouts to ensure an unobstructed flow path.
- Inspect after rainfall: The best time to check for performance is immediately following a rainstorm. This allows you to observe actual water flow and identify any ponding areas that require attention.
- Document ponding areas: Use chalk to mark the perimeter of any standing water and take photos. Monitoring these areas over subsequent inspections helps determine if the issue is worsening.
- Check for structural signs: Look for sagging or deflection in the roof deck near drains, which could indicate a long-term structural load issue caused by chronic ponding.
- Verify drain components: Ensure that drain bowls, clamping rings, and strainers are all present, secure, and free from cracks or damage that could compromise their function.
3. Flashing and Penetration Integrity Check
Flashings are the critical seals at the most vulnerable points of your roof: edges, penetrations, and transitions where the membrane meets vertical surfaces like parapet walls or HVAC curbs. These components, which include everything from pipe boots to perimeter edge metal, are essential for preventing water infiltration at seams and joints. An exhaustive flashing and penetration integrity check is a non-negotiable part of any commercial roof inspection checklist, as these areas are statistically the source of most roof leaks.
This inspection involves a systematic evaluation of all flashing materials for signs of deterioration, such as corrosion, cracks, punctures, or loose connections. Sealants around penetrations must also be checked for hardening, loss of adhesion, or gaps. For any commercial property in the Orlando area, where intense sun and heavy rains are common, ensuring these seals are intact is fundamental to protecting the entire building from moisture damage. A failure in a single flashing can compromise an otherwise healthy roofing system.
Why This Assessment is Crucial
Neglecting flashing integrity is a direct invitation for water damage. For example, a Central Florida manufacturing facility discovered corroded pipe flashings during a routine inspection, preventing a potential leak that could have contaminated its clean room environment and halted production. Similarly, a major Tampa-based hospital system reduced leak-related patient room closures by 75% after implementing a detailed flashing inspection protocol. These scenarios underscore how a small investment in checking flashings can prevent catastrophic operational disruptions and repair costs.
A compromised flashing is one of the quickest ways to develop an active leak. Understanding what to do when you have a leaking roof is important, but preventing the leak in the first place through diligent inspections is the better strategy.
Actionable Tips for Flashing Inspection
To ensure no vulnerability is overlooked, integrate these detailed steps into your inspection process:
- Map all penetrations: Create and maintain a roof plan that documents the location of every HVAC unit, vent, pipe, and drain. Use this map to conduct a systematic and repeatable inspection.
- Pay attention to sun exposure: In Florida, south and west-facing flashings receive the most intense UV radiation, causing sealants and materials to degrade faster. Prioritize these areas for closer examination.
- Verify proper installation: Check that all flashings extend at least 8 inches up vertical surfaces and are layered correctly, ensuring water flows over, not under, the components.
- Test sealant integrity: Gently probe sealants with a blunt tool to check for hardening, cracking, or loss of adhesion. Healthy sealant should be firm but pliable.
- Schedule preventive maintenance: Plan to have a professional re-seal all critical flashings and penetrations every 5-7 years as a proactive measure to extend their service life and prevent failures.
4. Structural Deck and Substrate Analysis
While the membrane provides the waterproofing, the structural roof deck is the foundation that supports the entire system. This component of a commercial roof inspection checklist assesses the condition of the deck material itself, whether it's concrete, metal, wood, or gypsum. A thorough analysis looks for signs of deterioration such as sagging, corrosion, rot, or delamination, which can signal serious underlying structural issues.
The deck provides the base for all other roofing components, so its integrity is non-negotiable. A compromised deck in a Central Florida commercial property can lead to catastrophic failure, endangering occupants and assets. Evaluating the deck’s condition, especially its attachment to structural supports, is a critical step in ensuring the long-term safety and performance of the entire building envelope.
Why This Assessment is Crucial
Overlooking the health of the roof deck can have disastrous and expensive outcomes. For example, a major grocery chain discovered advanced corrosion on the metal decking at several of its Florida locations during a scheduled inspection, prompting a proactive replacement program that prevented potential store closures. Similarly, a Pinellas County office building identified significant deck deflection, which allowed for structural reinforcement before a planned re-roofing project, saving them from a far more costly and disruptive repair down the line.
These scenarios underscore the importance of looking beneath the surface. A deck that appears sound might be hiding moisture-related rot or corrosion that only a detailed inspection can reveal. Prioritizing this analysis protects not only the roof but the entire structural framework of the building.
Actionable Tips for Deck and Substrate Inspection
To ensure a comprehensive structural deck and substrate analysis, follow these essential steps:
- Perform a walk-through: Carefully walk the entire roof surface, paying close attention to any unusual softness, "bounce," or sagging underfoot, as these are direct indicators of substrate weakness.
- Inspect from below: Examine the underside of the roof deck from within the building. Look for water stains, rust, rot, or cracked materials, as these are often the first visible signs of a problem.
- Utilize core sampling: When planning a re-roof or investigating a known issue, taking core samples allows a direct look at the deck's condition beneath the existing roofing layers.
- Consult a structural engineer: If significant deflection, sagging, or widespread corrosion is suspected, immediately coordinate with a qualified structural engineer to assess the building’s safety and design a proper remediation plan.
5. Rooftop Equipment and Penetration Assessment
Commercial roofs often serve as platforms for essential building systems, including HVAC units, exhaust fans, skylights, and solar panels. Each piece of equipment creates a penetration through the roof membrane, a potential entry point for water if not properly sealed and maintained. This assessment involves a detailed inspection of all rooftop units, their mounting systems, curbs, and the surrounding membrane to ensure every penetration is watertight and structurally sound.
Equipment-related issues are a leading cause of localized leaks on commercial properties across Florida. The constant vibration from an HVAC unit, foot traffic from service technicians, or an improperly flashed vent pipe can compromise the roofing system. A thorough equipment and penetration check is a non-negotiable part of any commercial roof inspection checklist, as it addresses some of the most common and damaging sources of roof failure.
Why This Assessment is Crucial
Neglecting the interface between rooftop equipment and the roof surface can lead to catastrophic and costly damage. For instance, a Central Florida data center prevented water damage to over $2 million in server equipment after a routine inspection identified failing curb seals around its cooling units. In another case, an Orlando office tower discovered that improper solar panel mounts were stressing the roof membrane, allowing them to make proactive repairs that saved an estimated $150,000 in potential water damage and structural repairs.
These scenarios prove that regular, focused inspections of all penetrations provide a significant return on investment by preventing interior damage, protecting valuable assets, and avoiding premature roof failure.
Actionable Tips for Equipment and Penetration Inspection
To ensure your rooftop equipment does not compromise your roofing system, integrate these practical steps into your inspection routine:
- Coordinate with other vendors: Schedule your roof inspection to coincide with HVAC or other equipment maintenance to observe service protocols and address any issues collaboratively.
- Install dedicated walkways: Minimize membrane damage from foot traffic by installing permanent walkway pads leading to and around all frequently serviced equipment.
- Verify curb height: Check that all equipment curbs extend a minimum of 8 inches above the roof surface to prevent water from pooling and overflowing into the penetration.
- Check for vibration damage: Look for signs of stress, cracking, or fatigue in the membrane immediately surrounding heavy machinery like HVAC units.
- Document equipment thoroughly: Maintain a detailed roof plan that maps all equipment locations, noting their age, condition, and service history to inform long-term capital planning.
6. Insulation Performance and Moisture Evaluation
Beneath the roof membrane, insulation plays a dual role by providing critical thermal resistance and often supporting the membrane itself. An insulation performance and moisture evaluation is a key component of a comprehensive commercial roof inspection checklist. This process assesses the condition, installation, and attachment of the insulation while searching for the damaging presence of moisture, which can devastate a roofing system.
When insulation becomes wet, it loses its R-value, drastically reducing energy efficiency. The added weight of trapped water also puts significant stress on the building's structure, accelerates membrane deterioration, and creates an environment for mold and mildew growth. Using advanced methods like core sampling, infrared thermography, and nuclear moisture scanning allows for precise identification of compromised areas that require targeted replacement.
Why This Assessment is Crucial
Undetected moisture within roof insulation can lead to enormous financial losses and operational disruptions. For example, a Tampa Bay area hospital network implemented annual infrared scanning across its facilities. This proactive measure identified and replaced sections of wet insulation that were compromising building performance, ultimately reducing their energy costs by 18%. In another case, a warehouse facility discovered that 35% of its insulation was moisture-compromised through nuclear scanning, allowing for a targeted replacement that saved them over $200,000 compared to a full roof tear-off.
These scenarios demonstrate that what you can't see can indeed hurt your bottom line. Investing in moisture evaluation is a strategic move to protect your asset and control long-term operational costs.
Actionable Tips for Insulation Inspection
To effectively evaluate your roof's insulation and detect hidden moisture, follow these professional guidelines:
- Time inspections for accuracy: Conduct infrared scans in the evening after a sunny day to achieve the best temperature contrast between dry and wet areas. Moisture scans should be performed when the roof surface is completely dry to avoid false readings.
- Verify with core samples: Use non-destructive methods like thermal imaging to identify potential problem areas first. Then, take small core samples in those specific locations to physically verify the presence of moisture and the condition of the insulation.
- Keep detailed records: Document the insulation type, thickness, and the results of any moisture scans. Tracking these findings over time helps identify progressive deterioration and informs your long-term maintenance strategy.
- Integrate with energy audits: Coordinate your moisture evaluation with a full building energy audit. This provides a holistic view of your property’s thermal performance and helps justify roofing investments through documented energy savings.
7. Edge Metal and Perimeter Security Assessment
The roof's perimeter is a critical transition point where the roof assembly meets the building’s walls, and it bears the brunt of environmental stressors like wind and rain. This part of a commercial roof inspection checklist focuses on evaluating the integrity of edge metal, coping caps, fascia, and gravel stops. These components are essential for preventing wind uplift, which can lead to catastrophic membrane blow-offs, and for stopping wind-driven water from infiltrating the building structure.
Proper securement of the perimeter is your roof’s primary defense against high winds, a constant threat in Central Florida. The edge system is subject to intense thermal expansion and contraction, UV degradation, and the highest wind forces on the entire roof. A detailed assessment ensures these components are firmly attached and performing their dual role of waterproofing and structural security, safeguarding the entire roofing system from progressive failure that often starts at the edges.
Why This Assessment is Crucial
Neglecting the roof perimeter can lead to costly and dangerous failures. For example, a major hotel chain with coastal Florida properties implemented enhanced edge inspection protocols after a turbulent hurricane season, a move that prevented membrane blow-offs and saved millions in potential damages. In another case, an office building in downtown Orlando discovered loose coping caps during a routine inspection, securing them just before a major storm and avoiding an estimated $75,000 in projected interior water damage and structural repairs.
These scenarios underscore the value of a proactive perimeter security check. A thorough inspection can identify attachment deficiencies that, once corrected, can even lead to an upgraded wind uplift rating, potentially reducing insurance premiums.
Actionable Tips for Perimeter Inspection
To conduct a comprehensive and effective perimeter assessment, follow these practical steps:
- Perform physical checks: Gently but firmly attempt to lift or move edge metal and coping caps to test their attachment. Any movement indicates a potential failure point that needs immediate attention.
- Inspect after wind events: Schedule a perimeter check after any significant storm or high-wind event to identify any new damage or loosened components.
- Focus on the corners: Building corners experience the most significant wind pressure and are the most vulnerable areas. Pay extra close attention to the securement and condition of these sections.
- Verify fastener compliance: Check that fastener type and spacing meet current Florida building code requirements, which may be more stringent than the standards in place when the roof was originally installed.
- Document all findings: Keep a detailed log with photos of any repairs or modifications to the edge system. This documentation is crucial for maintaining warranty compliance and tracking performance over time.
8. Safety and Access Feature Inspection
Ensuring safe and reliable access to a commercial roof is just as important as the condition of the roof itself. This critical item on any commercial roof inspection checklist involves a thorough evaluation of all safety and access features, including ladders, roof hatches, guardrails, warning lines, and permanent safety anchor points. The inspection verifies that these components are functional, structurally sound, and compliant with OSHA and ANSI standards, protecting maintenance personnel and mitigating liability for the building owner.
From a university campus in Orlando to an industrial facility in Pinellas County, having compliant and well-maintained safety systems is a non-negotiable aspect of facility management. Neglecting these features can lead to severe injuries, hefty fines, and significant legal exposure. A dedicated inspection ensures that anyone accessing the roof for maintenance, repairs, or equipment servicing can do so safely and efficiently.
Why This Assessment is Crucial
Failure to maintain roof safety features can have dire consequences. For instance, one Central Florida manufacturing company upgraded its roof access hatches and guardrails after an inspection identified major deficiencies, narrowly avoiding potential OSHA citations and over $75,000 in fines. In another case, a large Tampa Bay area hospital system implemented a comprehensive safety inspection protocol for its facilities, which led to a 60% reduction in workers' compensation claims related to roof work over three years. These scenarios underscore the direct financial and human benefits of a proactive safety inspection program.
This assessment is not just about compliance; it's about creating a secure working environment that prevents accidents before they happen.
Actionable Tips for Safety and Access Inspection
To conduct a thorough and effective safety feature assessment, follow these practical steps:
- Schedule annual checks: Perform a dedicated safety inspection at least once a year, preferably before the peak maintenance season begins.
- Verify equipment ratings: Ensure all safety equipment, such as anchor points and harnesses, have clearly visible load ratings and up-to-date inspection tags.
- Test functionality: Confirm that access hatches are properly counterbalanced and operate smoothly. Test the stability of guardrails by applying force according to OSHA testing protocols.
- Maintain detailed records: Keep a log of all safety equipment certifications, inspection dates, and any corrective actions taken to demonstrate due diligence.
- Secure access: Implement a strict policy that only grants roof access to trained and authorized personnel. This is especially vital in Florida, where preparing for severe weather requires secure and safe roof access. For more insights on securing your roof against extreme conditions, you can explore information about hurricane-proof roofing systems.
- Consult professionals: Consider hiring a certified safety professional for a comprehensive evaluation to ensure you meet all current regulatory requirements.
8-Point Commercial Roof Inspection Checklist Comparison
| Inspection Type | Implementation Complexity 🔄 | Resource Requirements ⚡ | Expected Outcomes 📊 | Ideal Use Cases 💡 | Key Advantages ⭐ |
|---|---|---|---|---|---|
| Roof Membrane Condition Assessment | Moderate – Requires experienced inspectors and some specialized equipment | Moderate – Visual tools plus infrared or capacitance meters | Early detection of membrane damage, lifespan prediction, and repair prioritization | Routine maintenance on commercial roofs to prevent leaks and extend lifespan | Prevents costly interior damage; supports warranty claims |
| Drainage System Evaluation | Moderate – Involves physical inspection plus water flow testing | Moderate – Tools for debris removal; possible water testing | Identification of blockages, ponding, and design flaws preventing structural damage | Roofs with known drainage issues or after heavy precipitation events | Prevents structural overload and membrane deterioration |
| Flashing and Penetration Integrity Check | High – Requires close-up, sometimes hard-to-access inspections | Moderate to high – May need lift equipment and skilled personnel | Early detection of leaks at vulnerable transition points; protects interior finishes | Buildings with numerous roof penetrations and aging flashings | Addresses 90% of leak sources; inexpensive early repairs |
| Structural Deck and Substrate Analysis | High – May require destructive testing and structural expertise | High – May need core sampling and engineer consultation | Prevents catastrophic collapse; identifies structural reinforcement needs | Older roofs or where roof sagging, deflection, or damage suspected | Ensures membrane substrate integrity; liability protection |
| Rooftop Equipment and Penetration Assessment | Moderate – Coordination with equipment maintenance needed | Moderate – Visual inspection, possible equipment shutdown | Detects equipment-related membrane damage and vibration issues | Roofs with heavy HVAC or solar installations | Prevents water infiltration; supports energy efficiency |
| Insulation Performance and Moisture Evaluation | High – Requires specialized moisture detection devices | High – Infrared cameras, nuclear moisture meters, core sampling | Identifies hidden wet insulation; optimizes energy efficiency and mold prevention | Roofs in climates with moisture exposure or energy upgrade goals | Saves costs by targeted replacement; maintains R-value |
| Edge Metal and Perimeter Security Assessment | Moderate to high – Physical testing and code verification required | Moderate – Possibly requires fall protection and scaffolding | Prevents membrane blow-off, wind damage, and water intrusion | High wind zones, coastal buildings, or pre-storm inspections | Critical for wind warranty compliance and facade protection |
| Safety and Access Feature Inspection | Moderate – Visual and functional testing of safety equipment | Moderate – Safety equipment and code expertise | Ensures OSHA compliance; reduces injury risks and liability | All commercial roofs requiring safe worker access and fall protection | Protects workers; reduces insurance claims and penalties |
Turn Your Checklist into Action with a Trusted Partner
A comprehensive commercial roof inspection checklist is far more than a simple to-do list; it is the foundational tool for strategic asset management. By methodically evaluating everything from the membrane's surface integrity to the unseen structural deck and insulation performance, you transform reactive repairs into proactive protection. This detailed approach, covering drainage systems, flashings, rooftop equipment, and perimeter security, provides a complete and honest picture of your building's most critical shield against the elements.
Moving beyond the checklist requires professional interpretation and decisive action. The data you gather is only as valuable as the expertise used to analyze it. A minor issue with flashing might seem insignificant, but a trained professional can recognize it as an early warning sign of widespread water intrusion that could compromise your entire roofing system. Similarly, identifying ponding water is one thing; understanding its root cause, whether it's a clogged drain, a compacted substrate, or a structural issue, requires seasoned experience.
From Inspection Insights to Strategic Decisions
Mastering the elements of a commercial roof inspection checklist empowers you to make informed, financially sound decisions that protect your investment and ensure business continuity. Instead of facing emergency calls for major leaks that disrupt operations and lead to costly interior damage, you can plan and budget for targeted maintenance, necessary repairs, or a timely replacement. This shift from a reactive to a proactive stance is the ultimate benefit of regular, thorough inspections.
For property managers and business owners across Central Florida, from the bustling commercial centers of Orlando to the communities in Winter Garden, Apopka, and across Seminole County, this diligence is essential. The intense sun, heavy rains, and high humidity of our region accelerate roof degradation, making biannual professional assessments a non-negotiable part of property maintenance.
Key Takeaway: A checklist guides the inspection, but professional expertise is what translates those findings into a strategic maintenance plan that extends your roof's lifespan, prevents costly emergencies, and maximizes your return on investment.
Your Next Step: Partner with a Local Expert
The ultimate goal of this commercial roof inspection checklist is to protect your property, your inventory, and your peace of mind. While a self-assessment can identify obvious issues, a professional inspection by a trusted local partner provides the detail and foresight needed for true asset protection. An expert can uncover subtle vulnerabilities, recommend cost-effective solutions, and help you develop a long-term maintenance strategy tailored to the unique demands of the Florida climate. Don't let a minor, overlooked issue evolve into a catastrophic failure. Take the next step to secure your commercial property today.
Ready to put this checklist into practice with a team you can trust? The experts at Hi Low Roofing & Solar provide comprehensive, no-obligation commercial roof inspections across Central Florida, using this detailed approach to give you a clear and honest assessment of your roof's condition. Schedule your free inspection with Hi Low Roofing & Solar and turn your knowledge into a definitive action plan.